Tuesday, November 22, 2011

.t-shirt infinity scarf.

if you have an old t-shirt that spends its lifetime begging for fresh air in the bottom of your dresser drawer, then this just might be the post for you. i'm a clothes hoarder. i admit it. parting with apparel for me is an out of body experience. ok, that's an exaggeration, but i don't do it easily. this shirt, though, gave me no choice as it somehow got this ugly yellowing bleach stain on the front of it. ruined, i tell you, ruined.


however, with the idea of repurposing a shirt i can no longer wear into something else that i actually will sport has quite an appeal. so, i took this striped and embellished cotton top and made it into a scarf. let me show you how so you can too.


lay your t-shirt out and very carefully cut right above the bottom seam to remove it. please note that i cut shirts like i do wrapping paper, impatiently and jaggedly. ignore that.


then, cut straight across under the seams of the shirt's armpits. what you're creating is a rectangle of fabric.


now, sure, you could slip this over your head, but it wouldn't be very scarf-like at this point. to make it have a little hang time (surf's up), stretch the mess out of it. that's right, take your frustrations out on your t-shirt and pull, pull, pull.


i even used one of my dining room chairs to help me pull it. the fabric will give and make for a longer, more scarf-fitting look. now, put your homemade t-shirt infinity scarf around your neck and rock it like the fashion forward person you are.

Tuesday, November 15, 2011

.pull apart pizza bites.

who doesn't like pizza? i'm sure right now someone out there in internet land is raising a hand- "me." if you have your hand raised, this may not be the recipe for you. on second thought, maybe this could be your means of finally enjoying pizza pie, in bite form!


the beauty of this recipe is in the variation. it can be satisfying for at-scratch people with a homemade pizza dough or time-friendly for those who want something simple by using a store bought pizza dough instead.


keep the bites simple with cheese and kid friendly pepperoni. or, get creative with buffalo chicken and blue cheese. there are so many options and really, whatever your favorite flavors are make the best stuffings to these little bites.


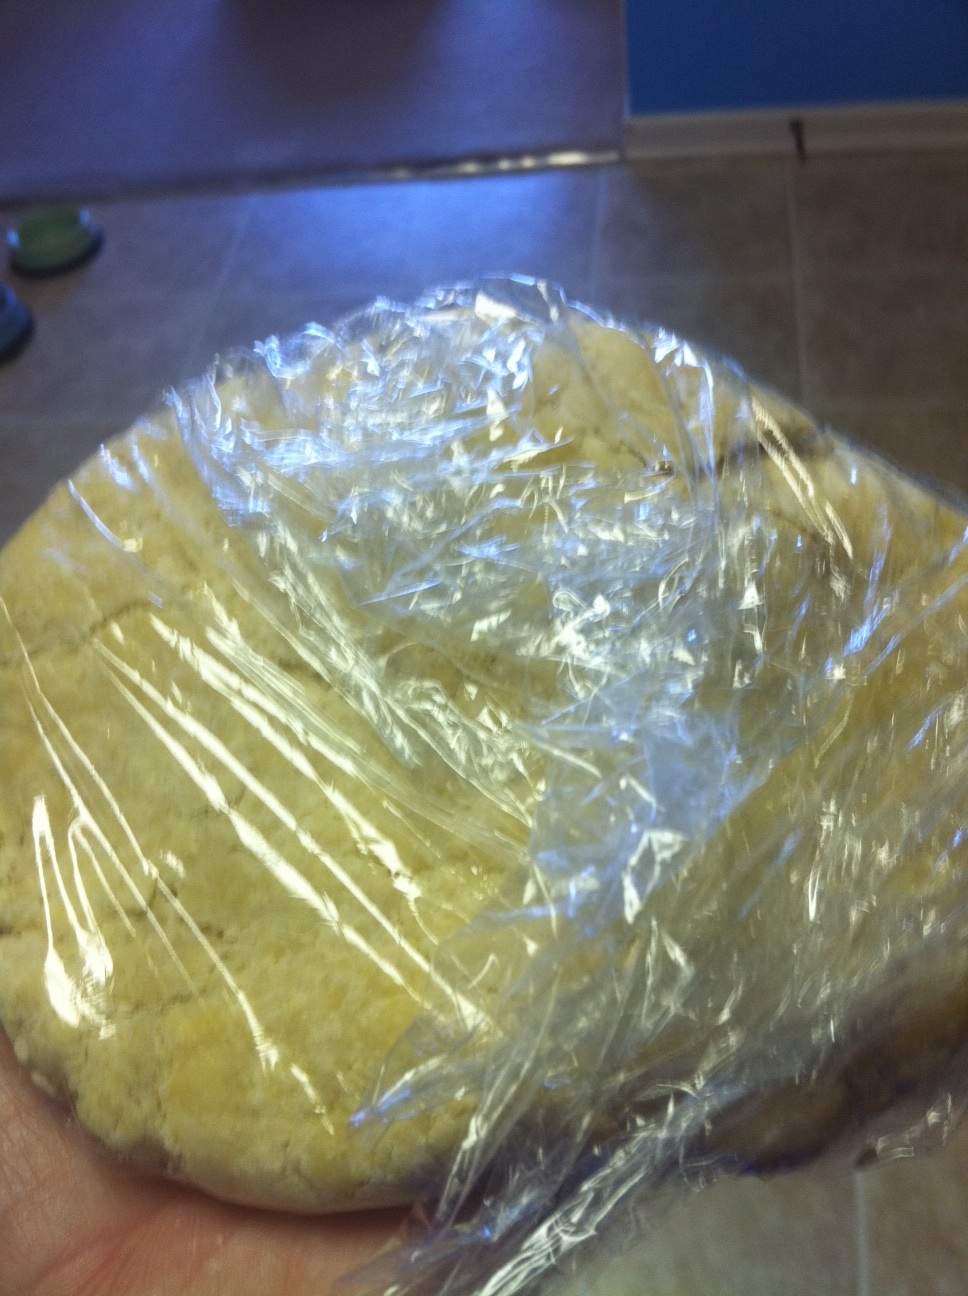
when i made them for me and my eye guy, i decided to make the pizza dough myself. for one thing, i had all the ingredients to do so at my house and this would allow to me avoid a trip to the grocery store. plus, i enjoy making things from scratch. i've made pizza dough before, but this is the best one i've ever made. i will be using the recipe again in the future for normal pizzas.


as far as what to stuff them with, i made them all vegetarian friendly. my eye guy is really great about eating and enjoying me-friendly food.


of course, there's cheese. the recipe calls for little cubes of cheese, but all i had on hand was shredded so i used shredded mozarella. i can imagine how delicious a little cube of it would be. mmm...fresh mozarella... i digress.
i also used vegetarian pepperoni. they have a pretty good flavor to them for being fake.


in some bites, i put gouda cheese instead of mozarella and added some chopped banana peppers to others. a little basil, a little crushed red pepper, a little ricotta. i have a real problem with being simple. i'm not good at it. plain and simple.


with all the little dough parts torn and stuffed, i scrunched them together in a pie plate to cozy up while baking. because i absolutely adore the taste, i added some rosemary to the buttered tops. then, i topped them with garlic salt as well.


while the pizza bites were baking, i poured marinara sauce into ramekins as dipping plates for my eye guy and myself. once the dish was done, i served us up some bites with sauce and i think it is safe to say that we both thoroughly enjoyed them. although we had them for dinner, they would be awesome as a dish to take to a party or gathering. in fact, i can't wait until i can do just that.


pizza bites
adapted from Annie's Eats
pizza dough (you will be using a HALF batch of this dough OR the store bought variety)
Ingredients:
½ cup warm water (about 110°)
1 envelope (2 ¼ tsp.) instant yeast
1 ¼ cups water, at room temperature
2 tbsp. extra-virgin olive oil
4 cups (22 oz.) bread flour, plus more for dusting
1 ½ tsp. salt
olive oil or non-stick cooking spray for greasing the bowl


Directions:
Measure the warm water into a 2-cup liquid measuring cup. Sprinkle in the yeast and let stand until the yeast dissolves and swells, about 5 minutes. Add the room temperature water and oil and stir to combine.

Place the flour and salt in the bowl of a stand mixer fitted with the paddle attachment. Briefly combine the dry ingredients at low speed. Slowly add the liquid ingredients and continue to mix at low speed until a cohesive mass forms. Stop the mixer and replace the paddle with the dough hook. Knead until the dough is smooth and elastic, about 5 minutes. Form the dough into a ball, put it in a deep oiled bowl, and cover with plastic wrap. Let rise until doubled in size, about 1 ½ to 2 hours. Press the dough to deflate it.

To bake, place a pizza stone in the lower third of the oven. Heat the oven to 500° for at least 30 minutes. Turn the dough out onto a lightly floured work surface. Divide the dough into two equal pieces. Form both pieces of dough into smooth, round balls and cover with a damp cloth. Let the dough relax for at least 10 minutes but no more than 30 minutes.

the bites
Ingredients:
½ batch pizza dough (enough for 1 pizza)
4 oz. mozzarella cheese, cubed (about 20-24 pieces)
Sliced pepperoni
For topping:
Olive oil
Italian seasoning
Grated Parmesan cheese
Directions:
Preheat the oven to 400˚ F. Lightly grease a 9-inch pie plate or cake pan. Divide the pizza dough into 20-24 roughly equal sized pieces. Take one of the dough pieces, top with a cube of cheese and a slice or two of pepperoni. Pull the edges of the dough around the fillings and pinch closed. Place seam-side down in the baking dish. Repeat with the remaining dough pieces.
Lightly brush the tops of the dough balls with olive oil. Sprinkle with Italian seasoning and grated Parmesan cheese. Bake for 20 minutes, or until the tops are golden brown. Serve warm, with dipping sauce as desired.

Monday, November 14, 2011

.key lime coconut cake.

we have dogs. dogs like to run. our dogs like to run a lot. they've made a path in our living room that serves as their indoor playground. unfortunately, it is a much smaller track than what their stretched legs desire.


my eye guy decided we need a fence for our furry babies and i'll save him the embarrassment of telling you what he wanted for our fence. he'd argue that it doesn't embarrass him. so, let me rephrase that...i'll save myself the embarrassment of telling you what he wanted us to do for our fence.


using a little wifey charm, i sweetly suggested he run his idea by his father who owns a fence business back in florida. i was hoping his dad would give a much more appealing suggestion, but he didn't. what he did do though was offer to drive up to tennessee himself and build us a fence! can you imagine how excited we were at this prospect for a yard that would enable us to hang out with our dogs without leashes and ties? we were thrilled.


in typical me fashion, one of my first thoughts was- what should i bake for him? i asked my mother-in-law what his favorites were and she told me coconut cake and key lime pie. i've been nervous about making a key lime pie, but know i'll brave that at some point. so, i was leaning towards a coconut cake.


as i began browsing various recipes, i stumbled across one of my favorite blogger's recipe for key lime coconut cake. say what!? both of my father's-in-law favorites in one cake? yes, please.


so, i set out to make this intriguing dessert as a fraction of the thank you i owed him for this generous offer. when the cake was done and ready to serve, i was nervous about how it would taste. i have a real problem with recipes that i can't taste test before i serve. it is hard to sneak a bite of a full cake. so, i was stuck waiting for that first bite along with everyone else.


when i bit in, i was a little disappointed. i felt it was dry and definitely not something i could swell in pride over. later that night, we had an official full piece and i decided to heat mine in the microwave for about 20 seconds. oh am i glad i did! the burst of warmth opened up the moisture in the cake and it truly was delicious. that week, we all heated before we ate and the cake went quickly.


what really goes quickly though is my two lively dogs when dashing back and forth all over our newly fenced in backyard. they love it and so does their mama. one of my new favorite things to do is to just sit up on our little hill and watch the two fur covered jet engines race all around me. sometimes they stop for a little mommy loving time. correction, that is my favorite part.


key lime coconut cake
adapted from smitten kitchen
ingredients
1 cup sweetened flaked coconut
1 stick unsalted butter, softened
1 1/4 cups granulated sugar
1 tablespoon grated Key lime zest
2 large eggs
1 3/4 cups self-rising flour*
3/4 cup whole milk
1/4 cup fresh Key lime juice, divided
1 cup confectioners sugar

directions
Preheat oven to 350°F with rack in middle. Generously butter an 8- by 8-inch square or 9- by 2-inch round cake pan and line bottom with a round of parchment paper.
Toast coconut in a small baking pan in oven, stirring once or twice, until golden, 8 to 12 minutes. Cool. Leave oven on.
Beat together butter, granulated sugar, and zest with an electric mixer until fluffy. Beat in eggs one at a time. Stir together flour and 1/2 cup coconut (reserve remainder for topping). Stir together milk and 2 tablespoons lime juice. At low speed, mix flour and milk mixtures into egg mixture alternately in batches, beginning and ending with flour.
Spoon batter into pan and smooth top. Bake until golden and a wooden pick inserted into center comes out clean, 40 to 45 minutes. Cool to warm, then turn out of pan and discard parchment.
Whisk together confectioners sugar, remaining 2 tablespoons lime juice, and rum (if using) and pour over cake. Sprinkle with remaining coconut.

Sunday, November 13, 2011

.my birthday wish- R.A.O.K.

maybe you know that i'm a huge fan of birthdays. maybe you don't. maybe you've heard that my mom totally showered me with so much excitement about my birthday growing up. maybe you haven't. maybe you're aware that i now love celebrating the birthdays of the people in my life whenever i can. maybe you're not aware. here's something for certain- i love a good birthday.

this week is my birthday week. while it isn't a milestone birthday, it does mark another mile traveled in my life. i've been inspired by something i read recently and would like to ask each of you to grant me this birthday wish.


whether we're family, acquaintances or close friends, i ask you to please participate in my birthday wish for this, my thirty-second birthday. i ask that some time this week you carry out a Random Act of Kindness. do something that shows kindness to an unsuspecting recipient.

in line at your local coffee shop? pay for the person behind you before they even get to the register. someone struggling loading kids and packages into their car in a parking lot? offer to return their shopping cart for them. if you don't have the means to give, there is so much gratitude from even the free gifts of kindness. pick up some mess around your office that will make the custodian's or cleaner's job a little easier that day. if you do have the means, maybe surprise the person behind you at the grocery store with a grocery gift card. you never know what may be going on in their life and that little amount could make a grand difference.

candy bar for your mail person with a note...a balloon for a child you don't know...carrying an elderly person's groceries...donating to a local shelter...giving old towels to an animal shelter...paying the toll of the person behind you...taking your neighbors' kids to school for them...taking a flower to a co-worker who could use a smile...the possibilities are beyond my scope!

whatever you decide to do this week, please post and let me know! my birthday wish is to collect thirty-two tales of Random Acts of Kindness this year. my wish in general is that we all see how rewarding it is this week to give what we can and hopefully we will keep it up all year long.

i'll also keep you posted on my own opportunities to show kindness and i look forward to all the smiles this week. THANK YOU in advance for the only birthday gift i'm asking for this year!

Wednesday, November 9, 2011

.mini muffins, many ways.

one of my favorite things to do is to start with a basic batter and then get crazy with it. i've done it before with waffles and cookies and it is oh so fun.


when some dear friends of ours had their second child, my eye guy and i took them dinner and i couldn't resist baking something. i didn't want to take them something overly sugary and full of confection. so, i thought mini muffins would go further and even their little guy, the new big brother, could grab a mini muffin without frosting or chocolate getting all over the place.


wait, i did add chocolate, but not frosting.


this recipe i found for a basic muffin was made for normal sized muffins, but i don't like following rules. instead, i changed them to smaller versions, little mini muffins. if they are little and mini does that make them extremely small?


i made the entire batch of batter and then separated heaping spoonfuls into a separate bowl to create a new flavor each time. maybe a little white chocolate chips with walnuts? sure!


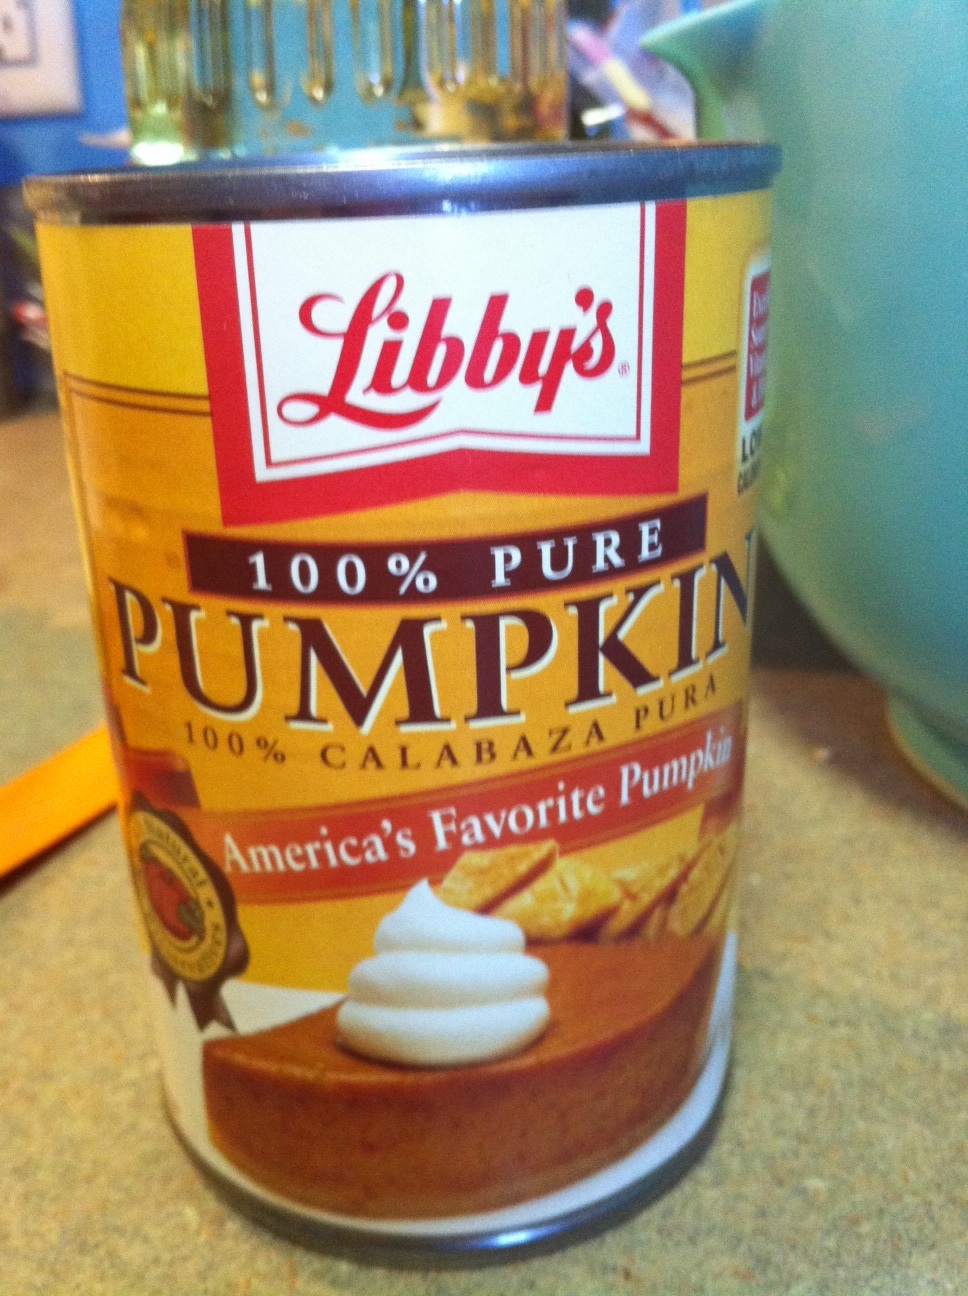
how about some pumpkin filling? it is fall after all.


want some basic milk chocolate chips? i do.


nutella? now you're talking!

what i'm getting at here is that you can add the most delicious ingredients you have in your pantry to this basic batter and create a variety of yummy flavors.


i'd be remiss if i didn't let you know that both nutella and pumpkin puree made the muffins extra moisturized which yields blobs when they come out of the pan. basically, it is too much liquid. now, the blobs tasted good, but didn't hold their form well at all.


so, when it is your turn, you may want to add just a wee bit of extra ingredients that have liquid and mostly dry ingredients like chips and nuts.

or sacrifice form over taste and add all the nutella you want!

mini muffins, many ways
adapted from danilo alfaro
ingredients
2 cups all-purpose flour, sifted
½ cup granulated sugar
1 Tbsp baking powder
½ tsp salt
1 cup whole milk
1 tsp pure vanilla extract
1 large egg
1/2 stick butter

(shortcake + shoes note- grab all the extra ingredients you'd like to add into your mix)

directions
Preheat oven to 400° F.

Combine the flour, baking powder and salt.

Unwrap the butter and heat it in the microwave, in a microwave-safe bowl, for about a minute, until it's thoroughly melted. Set it aside at room temperature to cool, but don't let it solidify again.

Beat the eggs in a separate bowl and then add the sugar, milk and vanilla to the eggs.

Thoroughly grease and flour a muffin pan (or use paper muffin liners).

Pour a tiny bit of the melted butter into the egg-vanilla-milk mixture and stir it in. Repeat 3-4 more times, adding a slightly larger amount of the liquid butter each time until it is all incorporated.

Add the liquid ingredients to the dry ones and mix no more than ten seconds. The batter should be visibly lumpy, and you may see pockets of dry flour. That's OK! It's extremely important not to overmix the batter, or the resulting muffins will be too hard.

(shortcake + shoes note- separate your plain batter into a separate bowl, one heaping spoonful at a time. this way, you can add your extra yummies and have a variety of flavors!)

Gently pour the batter into the prepared muffin pan and bake immediately.

Bake 20 minutes or until a toothpick inserted into the center of a muffin comes out clean.


Sunday, November 6, 2011

.spaghetti pot pie.

you've probably had chicken pot pie before. if you liked it, you know that the secret ingredient is the secret itself. below this delicate, flaky crust lies a hidden meal. there's something soothing about poking your fork in to the pie crust on top to find a hearty dish waiting beneath.


so i decided one night that while i wanted that pot pie effect, i didn't want the usual underneath the crust. instead, i was craving spaghetti. who says there's a die hard rule that pot pies can't come in multiple forms? if there is, i just broke it.


start by preparing your pie crust. probably the easiest way to do this is to walk into your neighborhood grocery store and buy a ready made pie crust.


however, if you're feeling frisky, a homemade pie crust really isn't that hard to make and you can control the thickness to suit your preference. plus, there's something so satisfying about making a pie crust from scratch.


either way, get your pie crust ready and then move to the spaghetti. most of us have our favorite spaghetti recipes and there's no need to deviate from that. i went the easy route and used jar sauce. hey, it's good and i just made a pie crust from scratch. give me a break.


once your sauce is simmering and your spaghetti has been cooked to just past el dente, load a shallow casserole dish with the spaghetti. apply your pie crust to coat the top. you will want to poke some holes or leave some spaces to let a little air in as it cooks.


with your oven to the degree of your crust's liking (probably around 375 degrees), put your spaghetti pot pie and wait for the crust to bake into flaky goodness.


if you'd prefer, feel free to bake yours in separate smaller ramekins for individual spaghetti pot pies. either way, i think you're going to be happy.


here are the two things i'd tweak if i made this again. one, i think individual pies would be more fun. and two, i'd add more liquid to my sauce. as the pie cooked, some of the spaghetti's liquid disappeared and it was drier than i would have liked when i went in for that first bite.


this is a novelty dish, but really, it is good and adds a little twist to your dinner plate.

Thursday, November 3, 2011

.pumpkin pound cake with cinnamon glaze.

a new and sensational concept for me when we moved to tennessee was the invention of fall break. in florida, we had no such reason to celebrate, i suppose, the beauty of fall. here, though, we bask in the glory of cool breezes and vibrant foliage.


for my fall break this year, my husband and i decided to travel east to knoxville, tennessee where the leaves were surely breathtaking, football was on the agenda and a little escape to easier times awaited. we are so lucky to have family friends of my husband's in knoxville who open their warm home to us. they are the kind of family that fills a room with their humor and love for each other.


to show a fraction of our gratitude for staying with them, i knew i wanted to bring the kind of baked good that could live on their kitchen counter for nibbling throughout the weekend. in walks the the pumpkin pound cake with cinnamon glaze.


nothing says fall like the the flavor of pumpkin to match the color of changing seasons. by skipping the obvious pumpkin pie and jumping in to something more subtle and yet substantial, this pound cake was anxious to come to life on my kitchen counters.


one of the unique ingredients to this recipe is vanilla pudding. seriously, look.


after stretching my wrist for all the upcoming whisking, i got to it. this is definitely the type of recipe that calls for a lot of exercise of the wrist, but the great news is that you won't have to wash your stand-up mixer.


once the pumpkin batter was ready to bake, i put it in the pre-heated oven and got started on the glaze. while the recipe for glaze called for one cup of confectionery sugar, i ended up adding more to thicken mine up a little. i felt like it was too thin without doing so. while i did not use all the glaze i made, it did make the parts i used a little richer.


after the cake cooled in the bundt pan, i held my breath and turned it upside down. there's a baker's joy that moment after the cake perfectly slides out of the pan to form a hearty wreath of cakey goodness on a plate. don't even ask me what it feels like when it breaks and crumbles coming out. shutter.


i'm not going to pretend that the cake didn't get a little messy on the six hour drive east that fall weekend, but it held it's ground in the taste department. even though it was a gift, i had to sneak a little sliver at their house to ensure it didn't taste gross. it tasted so ungross in fact that i believe i'll make it again soon.


pumpkin pound cake with cinnamon glaze
from the creative mama
ingredients
1 cup sugar
1 cup brown sugar
1 cup vegetable oil
3 eggs
3 cups flour
2 teaspoons baking soda
1 teaspoon cinnamon
1 teaspoon freshly grated nutmeg
1/4 teaspoon ground cloves
1/2 teaspoon salt
1 (3.3 ounce) package vanilla pudding mix
1 (15-ounce) pumpkin puree
For the glaze:
1 cup confectioners sugar
1 teaspoon ground cinnamon
3-4 Tablespoons water
directions
Whisk together both sugar and vegetable oil. Whisk in the eggs one at a time.
In another bowl, whisk together flour, baking soda, cinnamon, nutmeg, cloves, salt and pudding mix. Set aside.
Whisk in the pumpkin, alternating with the flour mixture in three additions.
Pour the batter into a greased Bundt pan and bake in a preheated 350 degree oven. Bake for 60 to 65 minutes, or until a toothpick comes out clean. Cool for 10 minutes and then turn out onto cooling rack to cool completely.
When the cake has cooled, whisk together the powdered sugar, cinnamon, and water. Start slowly with the water, if it too thick, add a few dropfuls until the glaze is the right consistency. Drizzle over the cake.